You Can't Have Too Many Hands
Once you start soldering you'll soon learn that having only 2 hands is usually not enough to get the job done. Unfortunately we have to make do with what nature has provided us with. Therefore we sometimes have to use our ingenuity to overcome our handicaps. Here are a few tricks for you.
Third Hands
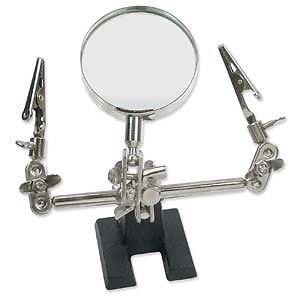
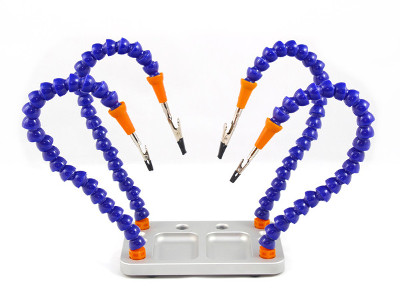
Third hands come in all shapes and sizes. Their general purpose is to hold parts or an entire PCB that you're working on. Below are a few examples of general purpose parts holders. Although some pictures on the internet show them with a PCB in their claws, I personally don't think that is very practical. While soldering on a PCB you are likely to flip it over and over again to place parts and soldering them. I don't think the tentacles of these contraptions are up to that task.


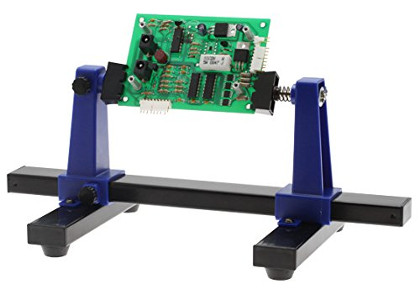
While the above devices are handy to hold parts while you are soldering them, the devices below are dedicated to holding PCBs.


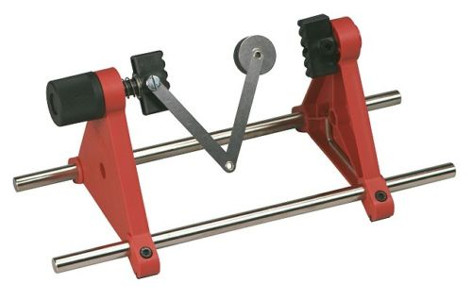
Personally I own a PCB holder like the one in the second picture.
It consists of two metal bars, which hold two triangular aluminium side plates.
At the top are two thumb screws with springs, which hold the PCB.
Then you can turn the PCB up and over to access it on both sides.
I don't know if I've still got it though.
I must have bought it more than 35 years ago, but I've never really used it.
Obviously I prefer to work on my PCBs without restricting their mobility.
Surviving With Just 2 Hands
So far I've shown you some of the commercially available solutions to our shortage of hands while soldering on our projects. Although I own a PCB holder, I never ever really used it. But sometimes you really really need a third hand. For instance while soldering wires to an LED. If you have ever tried that without a 3rd hand you probably know what I mean. The damn things simply refuse to lay still. And even if they do lay still for a few seconds they always tend to face the wrong way.

One way to solve this problem for relatively small parts is to use a test hook, which you probably have lying around somewhere. And if you don't have one, I think it's a good thing to obtain a pair. Not just to hold your parts, but to make some convenient measurements sooner or later.
If you don't have a test hook at hand, simply use a pencil or screw driver to punch a hole in a piece of stiff paper. Put the LED in the hole, and because the hole is less than perfect the excess paper will hold the LED in place during soldering.

Keeping larger parts in the right orientation during soldering can be done with a pair of pliers and a rubber band. That is how I use to solder wires to connectors for instance. You see, with a bit of ingenuity you can do very well without the fancy pancy commercial tools.
