Micronta 22-211
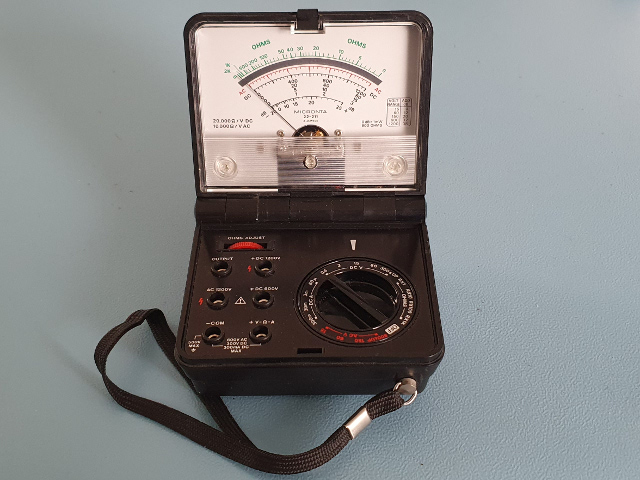
Here’s another instrument that I don’t know the origin of.
I think it was part of an inheritance, but I’m not entirely sure about that.
This Micronta 22-211 multimeter was sold by Radio Shack a long time ago, which is why I’m absolutely sure that I haven’t bought it myself.
I have bought something from Radio Shack only once in my life.
I had to return it 3 times because it was broken right out of the box, three times in a row.
That’s when I’ve got my money back and never went into a Radio Shack shop ever again.
Overload protection is basically non-existent, if you ignore the simple glass fuse on the Current ranges.
And you’ll have to be careful about the polarity of DC voltages and currents.
If the polarity or magnitude is unknown try to probe the input quickly on a higher range first.
Otherwise you might damage the meter movement when it smacks to either end of the scale.
It’s not that I use this instrument on a regular basis.
A digital multimeter is much more convenient to use and much more accurate.
But sometimes it’s nice to use a more primitive instrument, just for old time sake.
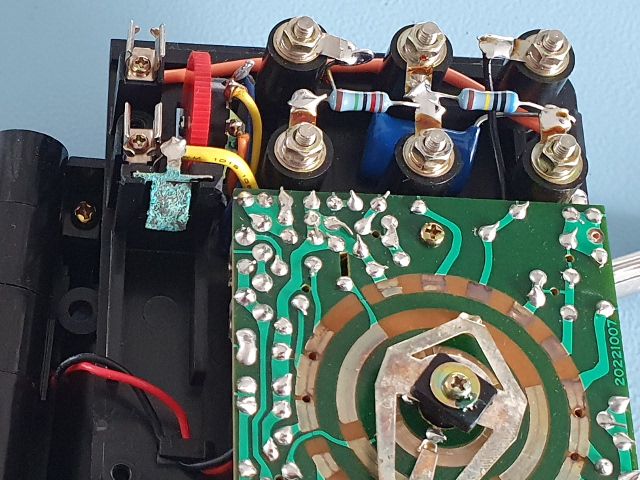 Limited corrosion
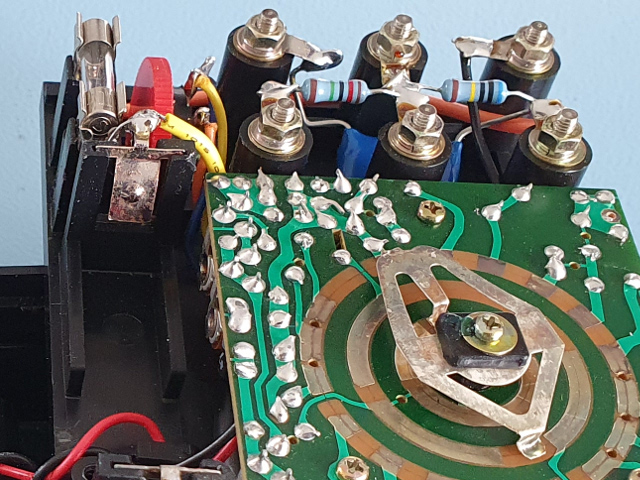 Cleaned it
Before writing this page I took the instrument apart to take some photos. That’s when I found out that one of the battery connectors was a bit corroded. Luckily the battery had been removed years ago, so no further damage was caused. I desoldered the battery connector and submerged in some vinegar for a few hours. After that it was as good as new again.
 Closed instrument
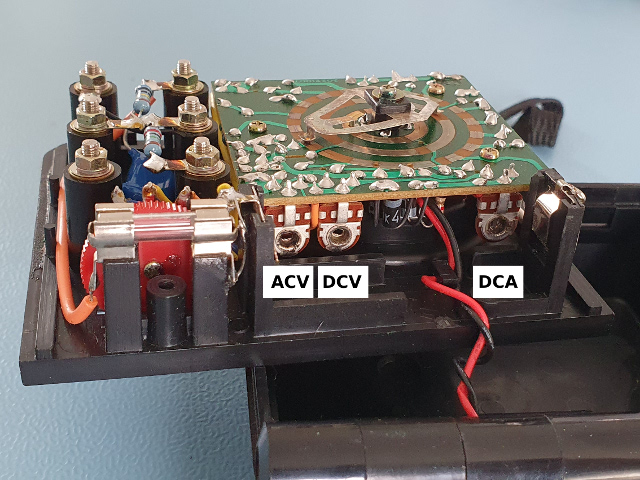 Adjustments
After that the only thing that remained to be done is to do a quick recalibration. All readings were a bit low. Calibration is quite easy, as long as you calibrate the DCV function first. After that you can calibrate the DCA and ACV functions.
When the device is closed a switch, operated by the lid, closes and shorts the meter movement, protecting it from vibrations. You can think of the meter movement as if it is a very tiny dinamo. Shorting it will dampen its ability to move.
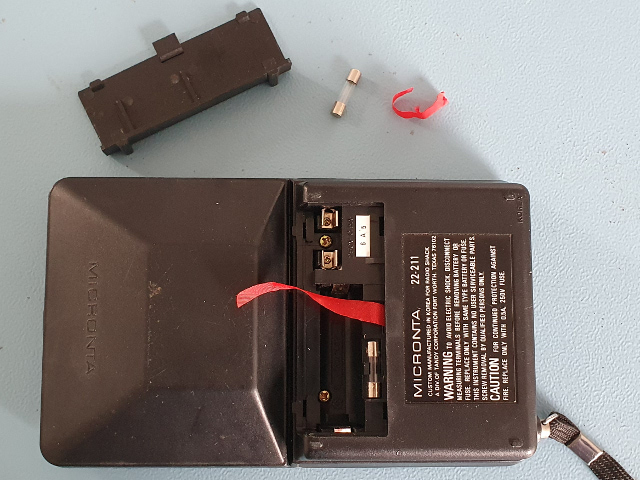 Fuse remover fail
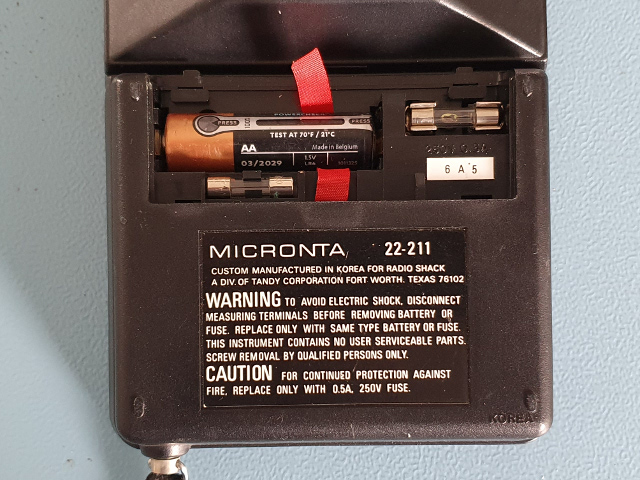 Rear side opened
There’s one more thing which didn’t stand the test of time. The little red strap, which could aid in removing the current protection fuse, tore when I pulled it. After removing the fuse (and battery) you see two screws, which need to be removed before you can open the instrument.
The battery by the way is only required for the Ohms scale. All other scales/functions work without a battery.
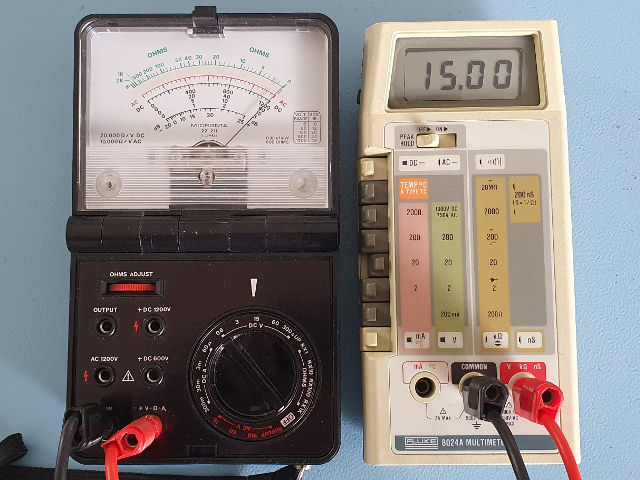 DC 15V full scale
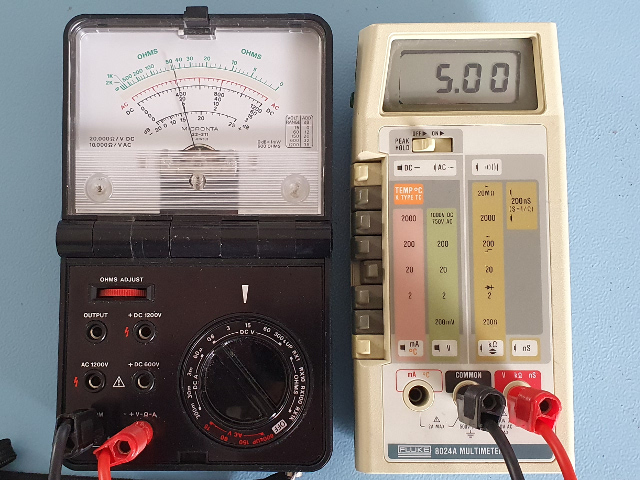 DC 5V on 15V scale
Wonderful, the DCV range of my Fluke 2024A from 1980 is still spot on, compared to the Micronta. Oh, sorry, it’s the other way around of course. Also at ⅓ of the scale at 5V the Micronta is still rather accurate. Keep in mind that because of the 20kΩ/V sensitivity the input impedance on the 15 VDC range is 300kΩ.
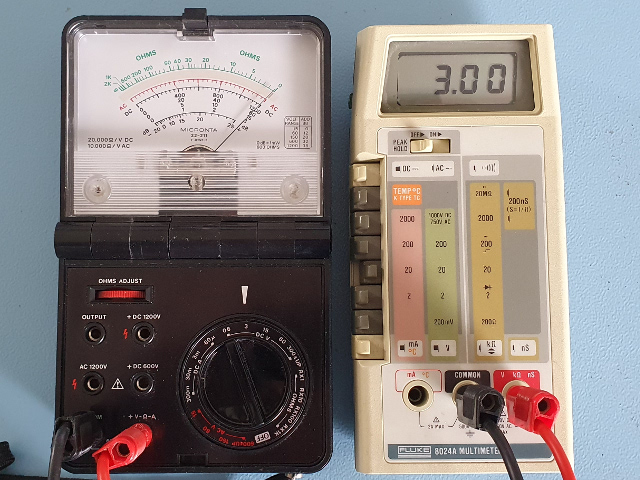 DC 3V full scale
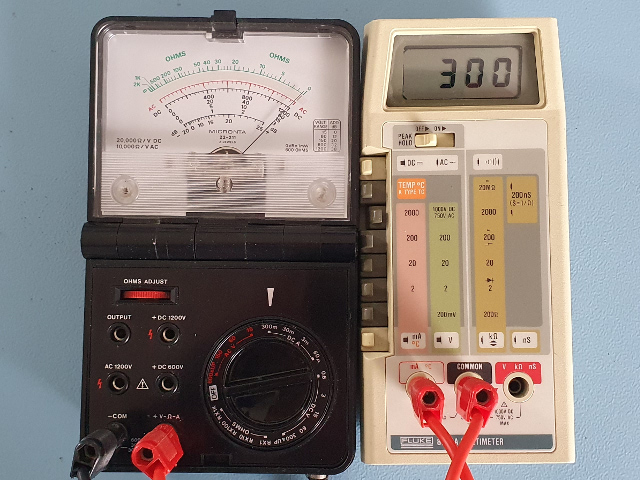 DC 300mA full scale
Also the 300mA range is spot on again after a little bit of calibration.
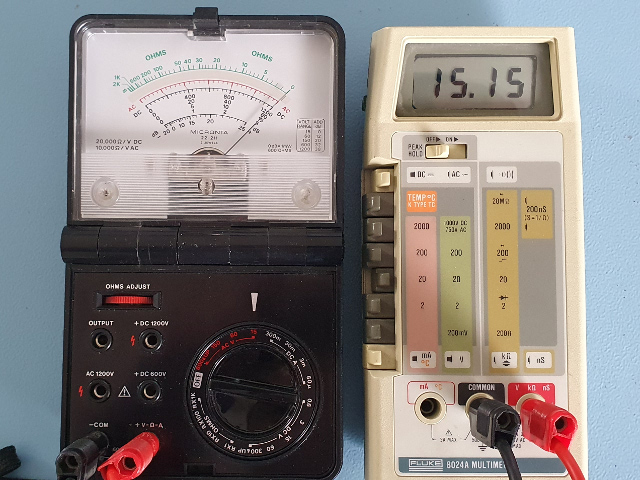 AC 15V full scale
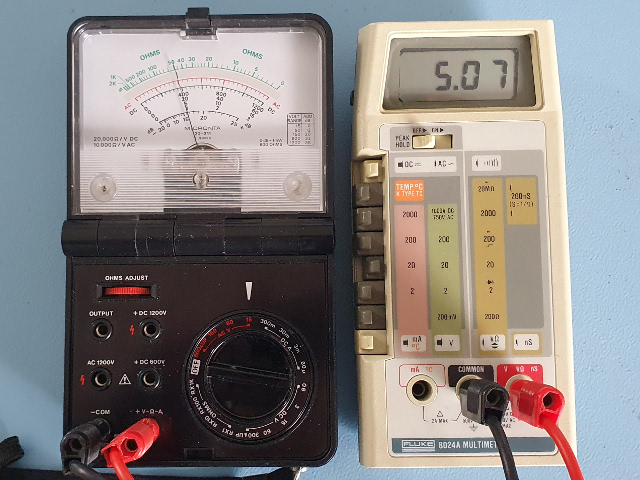 AC 5V on 15V scale
AC voltage performance is terrible on instruments like these.
Especially at the lower voltages.
A simple bridge rectifier is used to make the input signal DC.
At lower voltages this introduces a huge error.
This is why the instrument’s lowest AC scale is 15V, simply because lower scales would be very inaccurate.
It is nice that the instrument has a dB scale, but it is rather useless.
Audio signals for instance are usually far to weak for the instrument to pick up.
And I didn’t even bother checking the meter’s performance on higher frequencies than the 50Hz mains frequency.
Also the input impedance on AC is even lower then on DC, making its usefulness even worse.
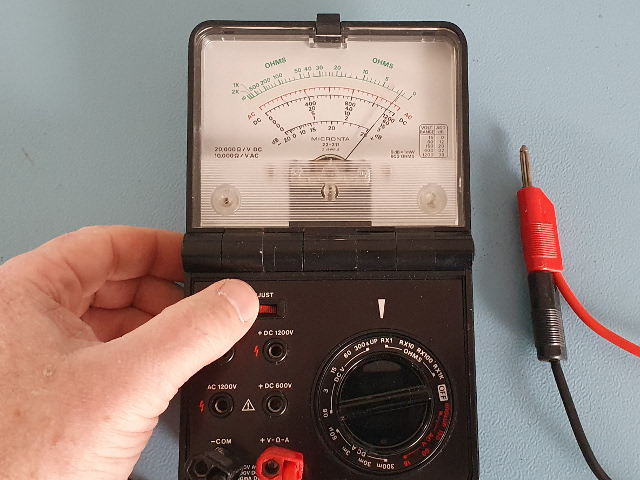 Zero the Ohms scale first
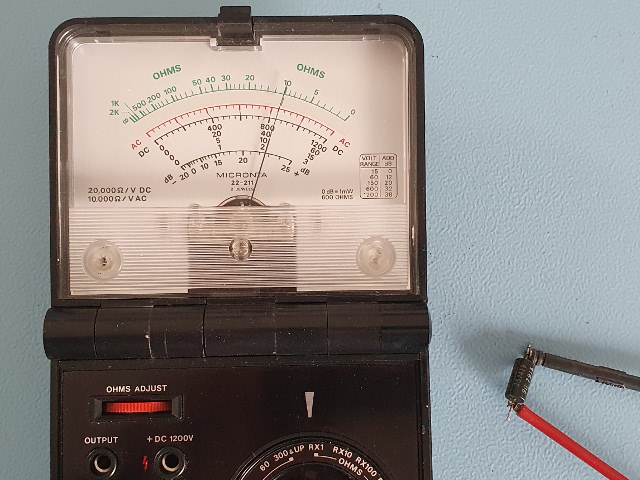 9 Ohm shows slightly over 10 Ohm
Young people may be surprised of the peculiar Ohms scale of these types of instruments.
The scale is far from linear (reciprocal in fact).
And 0Ω is all the way on the right.
Well, it will be if you calibrate the Ohms scale first.
Connect the two test leads together and adjust the potmeter to make the meter read 0Ω.
This may have to be done before just about every resistance measurement.
The exact calibration depends on scale and on the voltage of the AA battery in the back of the instrument.
Once it’s calibrated you can measure your unknown resistor.
Here the 9Ω resistor reads just over 10Ω. Not very accurate. But that is not uncommon for low resistor values, not even on digital meters. And I didn't compensate for the resistance of the clips while calibrating the Ohms range.
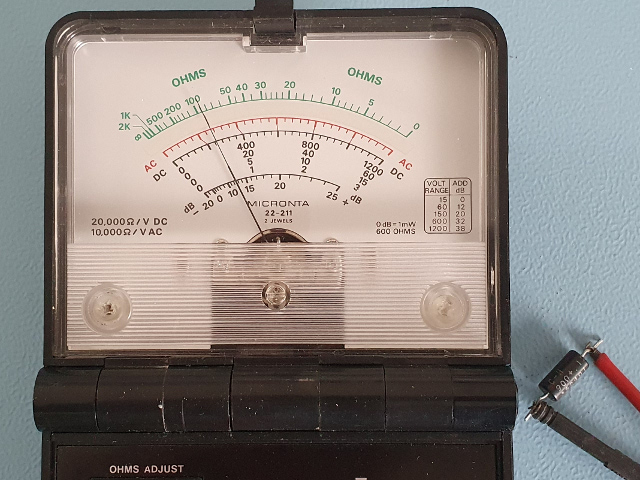 90 Ohm, spot on
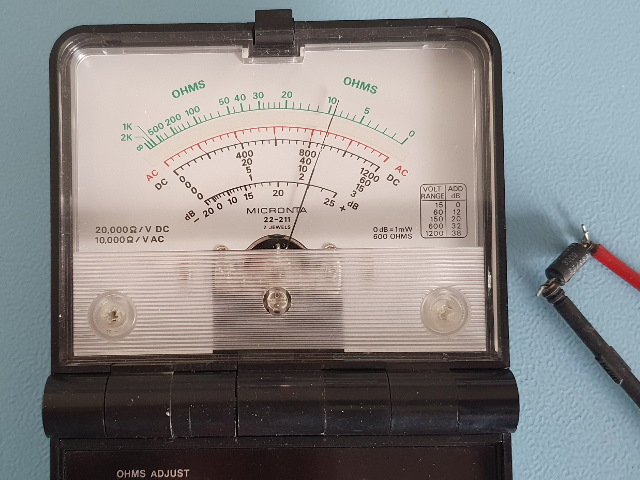 900 Ohm, spot on
The instrument performs better when measuring a 90Ω or 900Ω resistor. It is best practice to chose a range where the needle’s deflection is the biggest because the Ohms scale has the best resolution at the far end. So it would have been better if I had selected a lower range while measuring the 90Ω resistor.
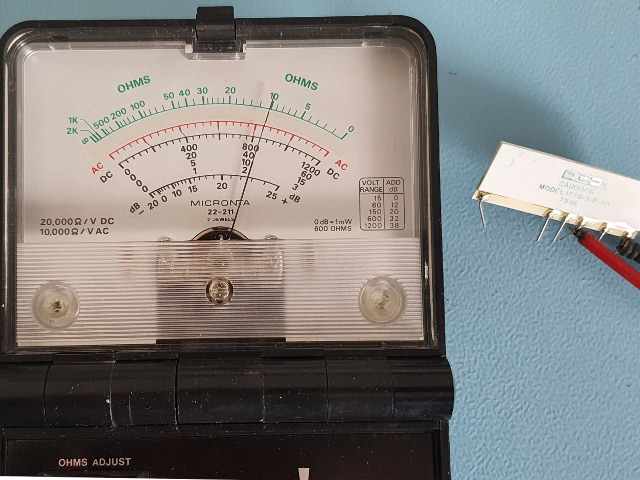 9k9 Ohm, a little high
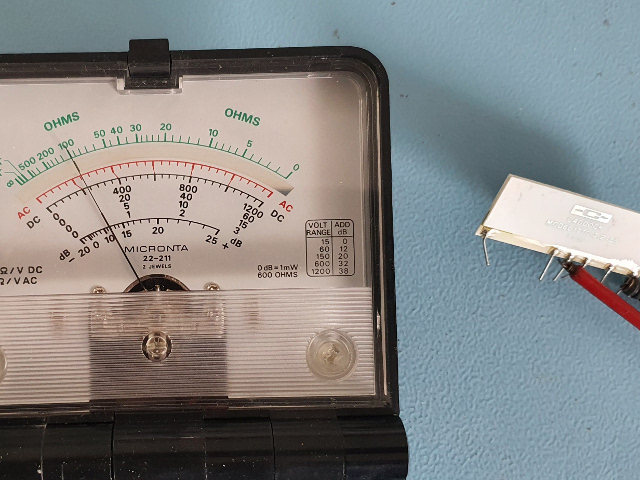 99k9 Ohm, spot on
Measuring 9k9Ω and 99k9Ω is also surprisingly accurate. But as you can see below measuring 999k9Ω is starting to be a bit of a problem. There’s hardly any resolution left at these values. You can simply forget measuring resistors higher than 1MΩ on this instrument.
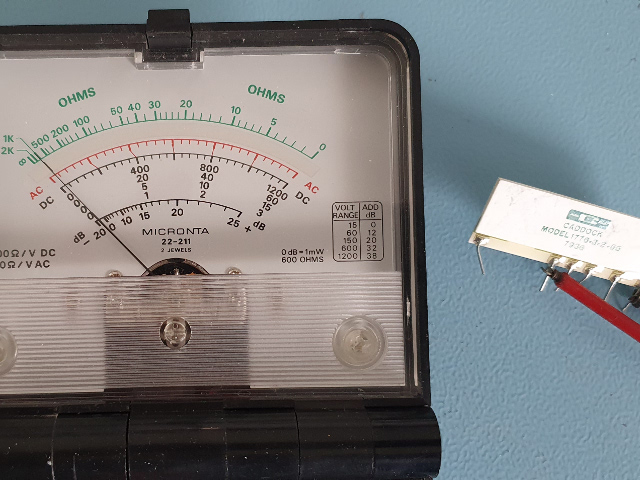 999k9 Ohm, hard to read
